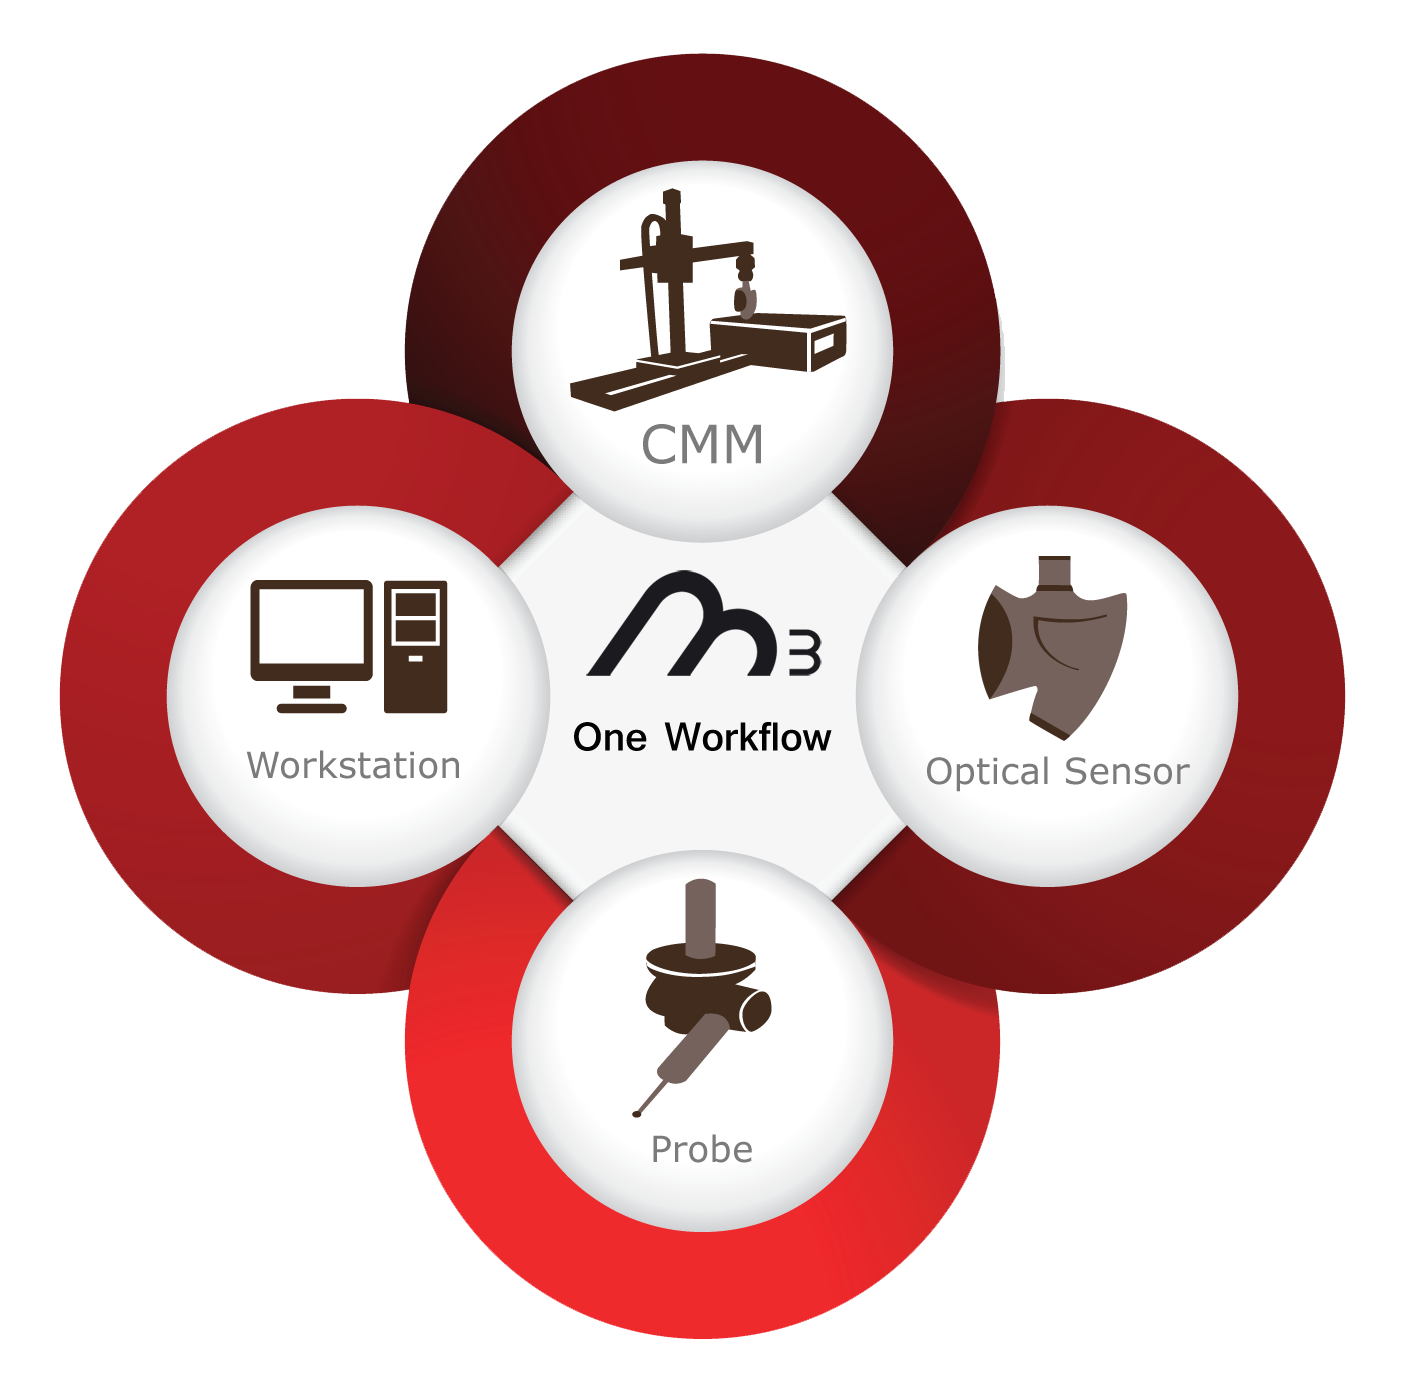
M3 offers a complete integration in just one workflow
1 Connect and inspect
Start working in a few minutes. No specific previous knowledge of CAD or metrological tools is needed
2 Compability
M3 covers the entire spectrum of metrology, regardless of device, brand or model
3 Traceability in your workflow
You can change between different 3D measurement systems in the same workflow
4 Differential quality
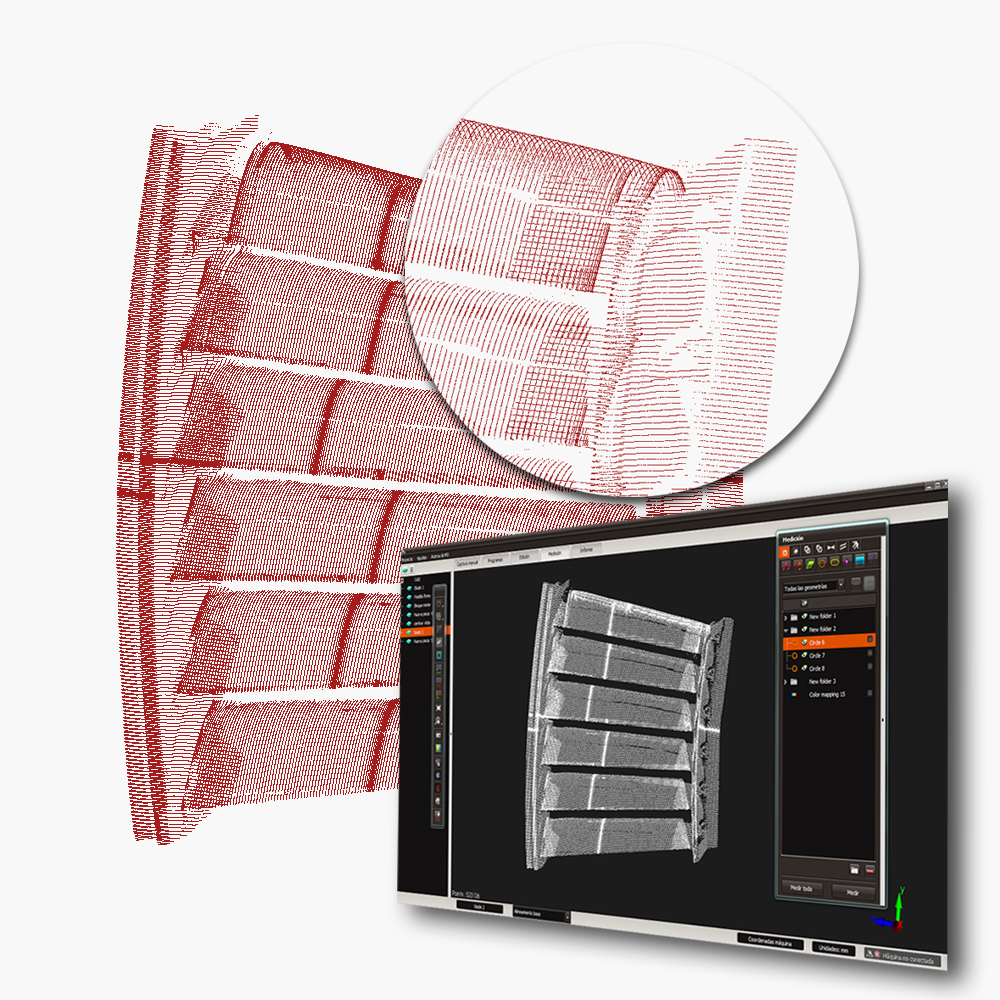
Point cloud acquisition with a high level of detail never seen before
Compatible with any type of component
M3 is able to work with different controllers and CMM systems, so it brings you a wide range of scanning possibilities, regardless of the part size and type.
Multisensor: Same workflow for contact and optical Measurement
M3 interacts with different sensors (optical and contact sensors) in a simple and automatic way. This feature empowers you with great traceability in your workflows.
High Fidelity: The most complete dimensional information
Thanks to the optical capture of M3, you can get a very precise digital copy of your actual part, with a representation of the surfaces at a high level of detail.
Other features of M3 capture process
Automatic Alignment of the Point Cloud
M3 allows you to align the coordinates obtained with the Coordinate Measuring Machine, to the coordinates defined in a CAD drawing, in a piece system, and so on.
Easy Sensor Qualification
M3 works with multiple spheres to qualify the position of the sensor, facilitating the relationship between the Coordinate Measuring Machine and the workspace
CMMs Verification
M3 allows you to verify the machine status at any time in the scanning process. M3 also provides a module with a tetrahedron for the verification of the machines
The M3 storage and management process
Easily store and share your dimensional information with great efficiency
1 Ubiquity, easy access
Share the information anywhere and anytime, allowing easy access from different departments
2 Optimization
The database is optimized to gain space without losing information
3 Smart management
The dimensional information is stored in a smart way, to facilitate its management
Access to the information anywhere, anytime
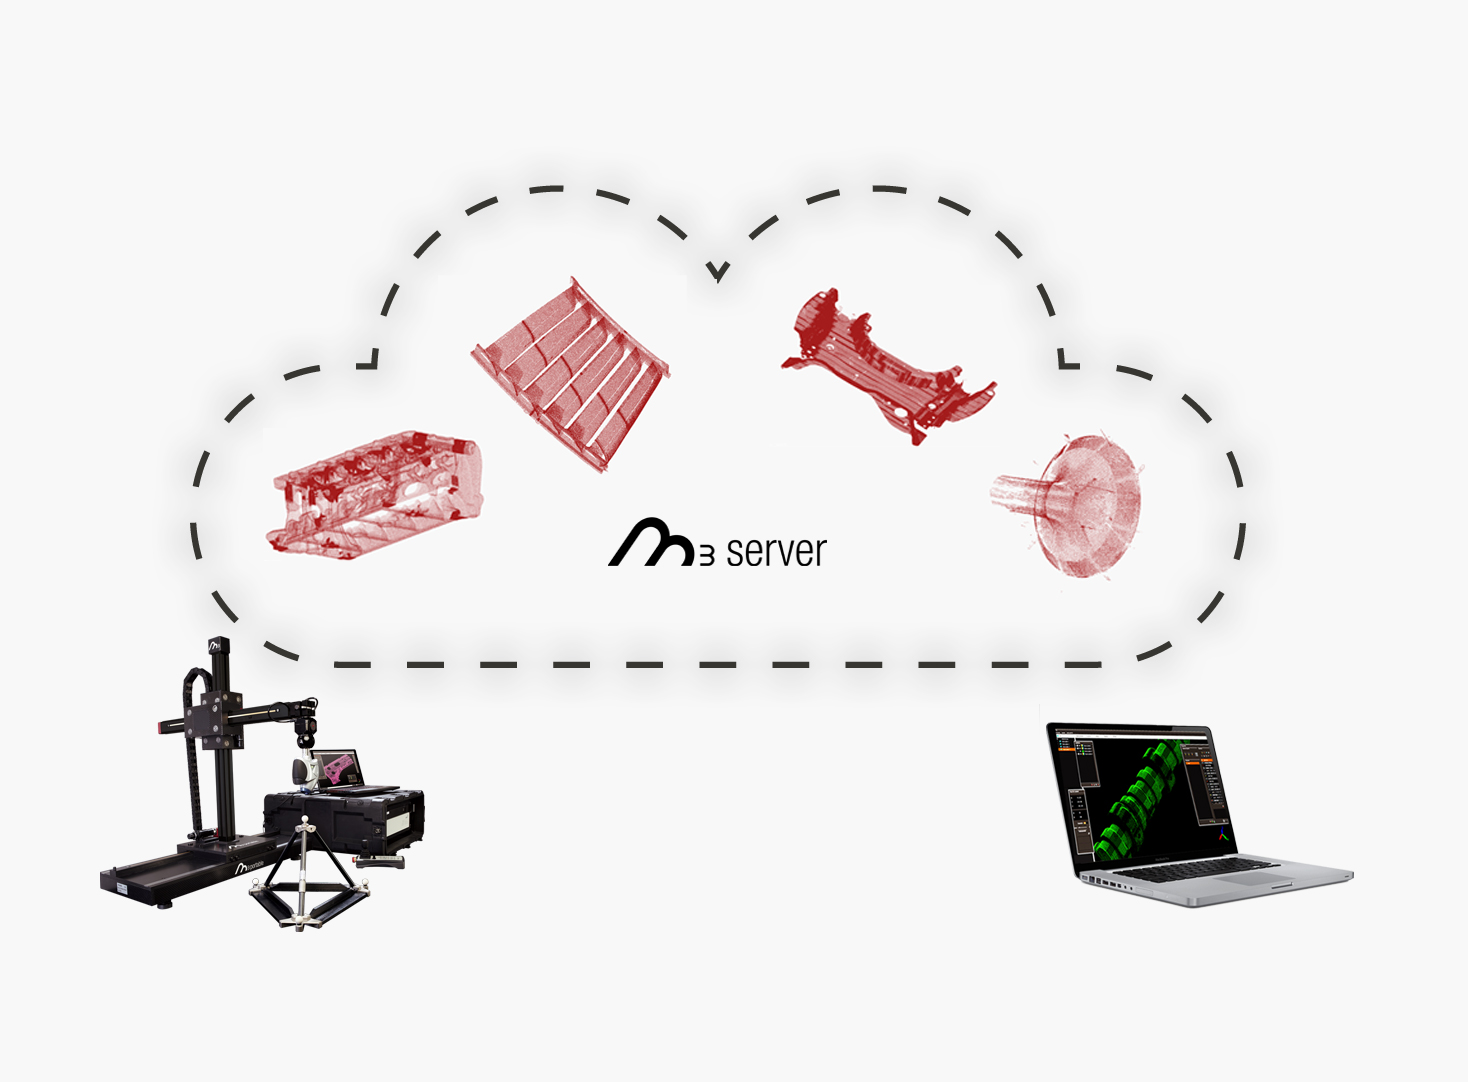
The M3 database uses the VPX (Virtual Part Exchange) standard to enable information to be stored, shared and filtered with high efficiency by connecting the database directly to the M3 gage scanning system and the M3 tablet work stations
Optimized database
Due to the fact that you have to work with large volumes of information, the point clouds are stored in VPB, in order to save space without losing information, enabling a more fluent and efficient management
The point cloud analysis process
Maximum performance for working online and offline with your dimensional information
1 Connect and measure
Work online or download the point clouds and work offline
2 Creating a measurement plan
Easily create a measurement plan in order to group and organize the analysis of a part
3 Powerful analysis
Work with the widest range of geometries and geometric dimensioning and tolerancing (GD&T)
4 Automate processes
Use the M3 assistants to automate the entire inspection process without any operator intervention
5 Measurement reports
Obtain customized reports and statistics with exactly the information you need
Easy creation and management of measurement plans
With M3, creating a measurement plan is very intuitive. You can also run the same measurement plan for all parts of a project, thereby optimizing your production process in a simple way
The widest range of geometries for point cloud analysis optimization
M3 works with 2 and 3 dimensional geometries extraction, constructed geometries, measurement geometries and geometric dimensioning and tolerancing (GD&T)
Geometrical measurement
(no CAD model required)
M3 allows you to obtain the actual values of a part without having the CAD model to make the measurement. Furthermore, M3 is also able to obtain the nominal values of the geometries that you want to measure from CAD models
Process automation assistant
This assitant allows you to automate the entire inspection part process without any operator intervention. This feature enables users to greatly reduce measuring time and significantly increase the productivity of their dimensional processes
Easily display data and results
Once you have finished the analysis with M3, you will obtain customized reports and statistics of your measurement processes, with the information you exactly need (from specific areas or the complete part)
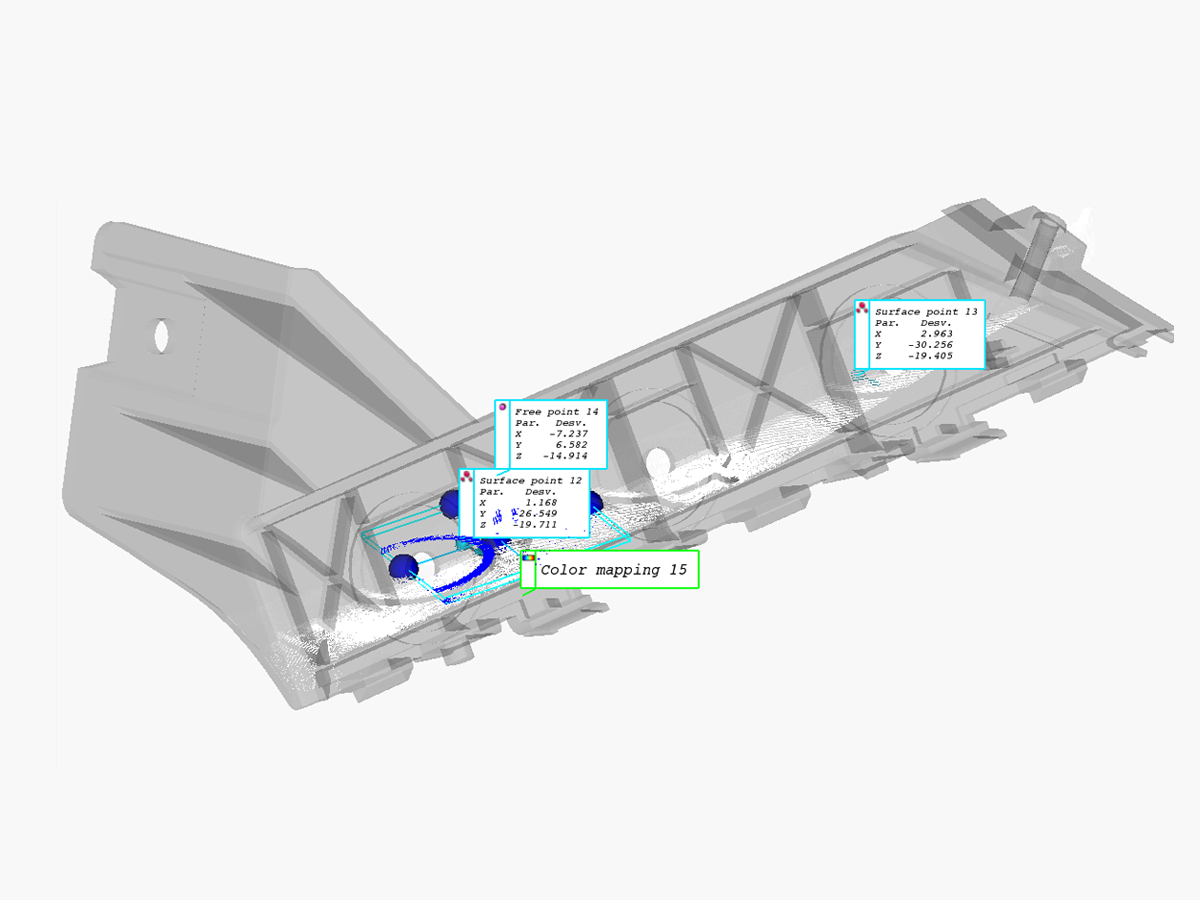
Other features of the M3 point cloud analysis process
Importing and exporting of measurement plans and results
Due to its flexibility and compatibility, you can work with different file extensions. You can import and export measurement plans and results with the M3 extension (.m3), and also with standard extensions such as .dmo and .qif
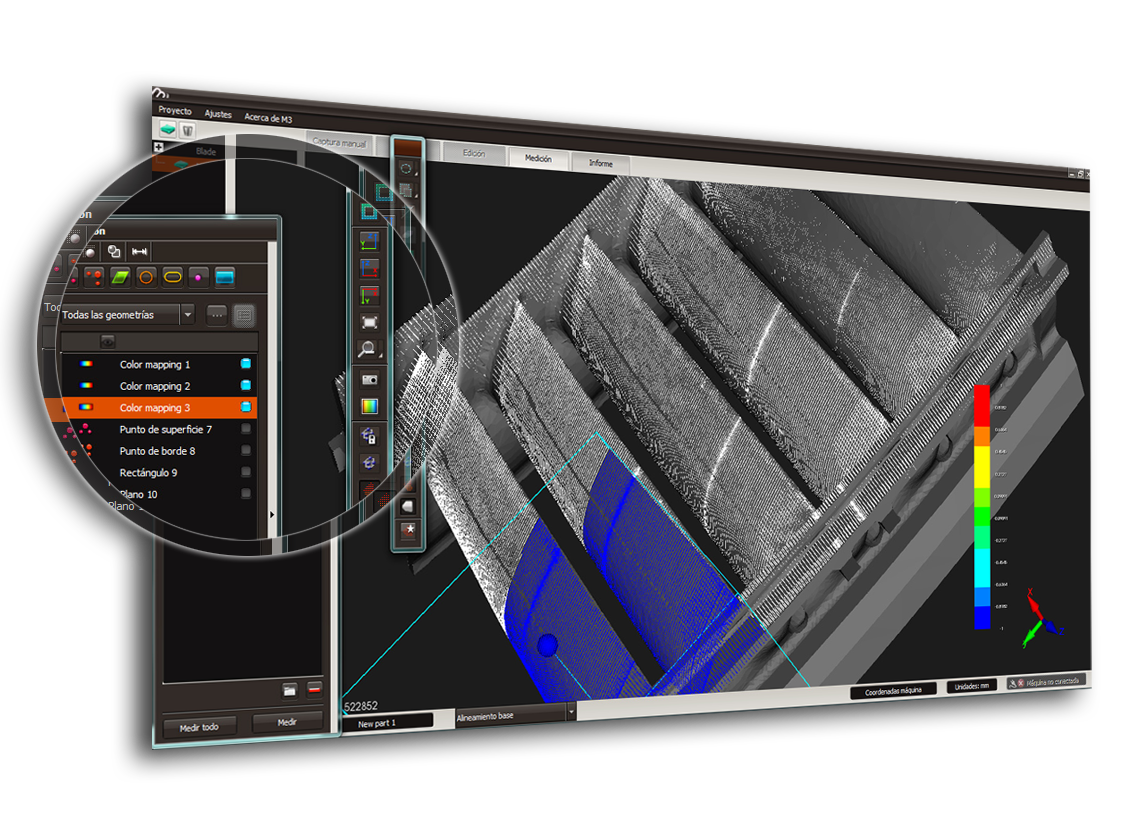
Automatic ColorMapping with CAD
You can compare your CAD file with the points cloud, an easy and friendly way to check the deformities and deviations of the part (you can select the percentage of point clouds and CAD with which you want to work)
Stitched parts
This feature is very helpful when you have to scan a part too big for the machine. Thereby, you can scan separately different areas of the part, and then joining them to form the original part
