Main advantages of using M3 gage
Start working in a few minutes
No specific previous knowledge of CAD or metrological tools is needed. M3 gage is specifically designed for the engineer. The scanning process has never been so easy and fast, you only have to connect and inspect.
Traceability in your workflow
You can change between different 3D measurement systems in the same workflow. M3 interacts with different sensors (optical and contact sensors) in a simple and automatic way, obtaining great results.
Total Compatibility
M3 gage is the component which enables to work with different controllers and CMMs system, covering the entire spectrum of metrology, regardless of device, brand or model. You can upgrade your devices, without worrying about future compatibility.
High Fidelity
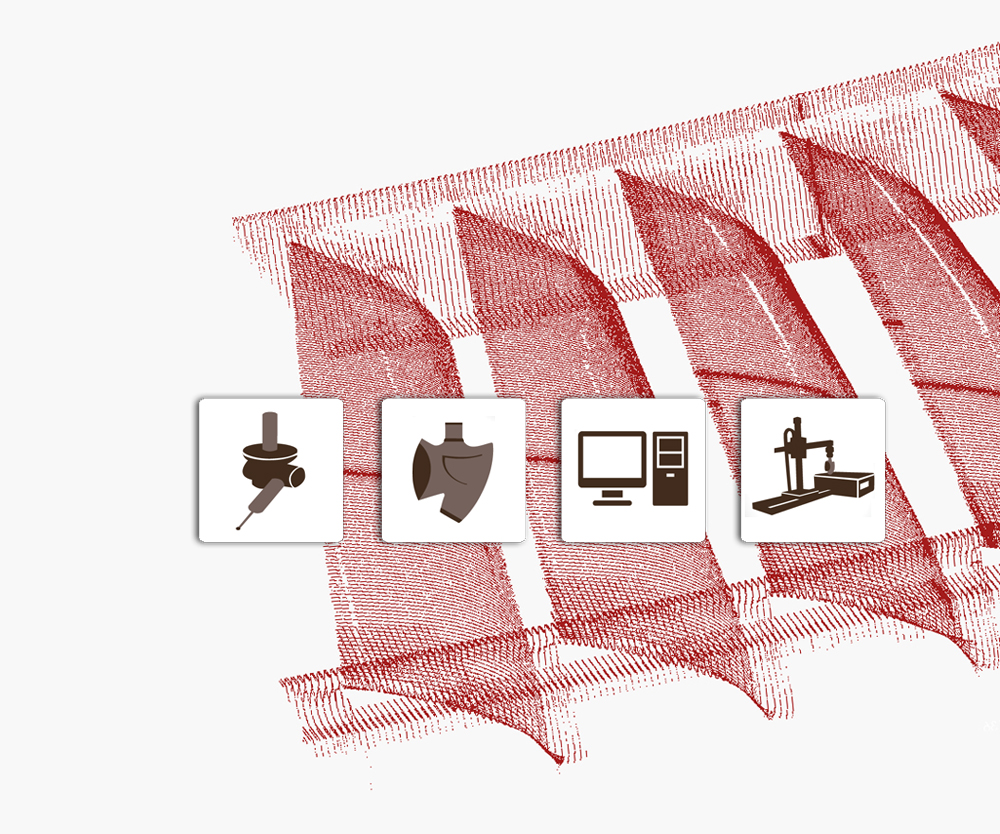
Point cloud acquisition with a high level of detail never seen before. You will obtain the most complete dimensional information, thanks to the optical capture system of M3 gage.
